DIY Grooming can really save you money and help your pet stay healthy. If you’re new, you might wonder how to start. Trimming your pet’s nails is not just for looks; it keeps them comfortable and healthy too. Overgrown nails cause a lot of problems for animals. By learning to do it yourself, you can make grooming a special time together. Doing it at home is practical and can even be calming. Let’s go over how to trim nails safely and keep grooming a positive experience.
Key Takeaways
- Establishing a nail-trimming schedule is crucial for DIY Grooming success.
- Recognize the signs of when it’s time for Nail Maintenance, such as tapping sounds or scratching during play.
- Understand the potential health risks associated with neglected Pet Nail Care.
- Explore the variety of tools available for Trimming Pet Nails and the importance of gradual introduction.
- Learn the role of positive reinforcement in Grooming at Home to minimize stress for both pet and owner.
- Discover tips for effective DIY Pet Care through proper technique and consistency.
Understanding the Importance of Regular Nail Trimming
Grooming your pet means more than baths and brushes. Regular nail trimming is vital in DIY pet care. It goes beyond looking good. Here’s why keeping your pet’s nails short is crucial for every pet owner.
Health Implications of Ignoring Nail Maintenance
Not taking care of your pet’s nails can cause health problems. Overgrown nails may lead to pain, bad posture, and trouble moving. This can turn into more serious issues.
Identifying When Your Pet’s Nails Are Too Long
Knowing when to trim can seem hard. Yet, signs like nails clicking on floors or curling under are clear. For your pet’s health, adding home grooming tips to your care routine is key.
Short-Term and Long-Term Effects of Overgrown Nails
Overgrown nails can cause immediate discomfort and long-term damage. A nail trimming guide can help you avoid these problems. This ensures your pet’s paws stay healthy with grooming at home.
| Issue | Short-Term Effects | Long-Term Consequences |
|---|---|---|
| Pain and Discomfort | Limping, Avoidance of Activity | Joint Stress, Arthritis |
| Injury to Paw Pads | Cuts, Potential Infections | Permanent Pad Damage |
| Posture Problems | Abnormal Standing and Walking | Permanent Skeletal Deformities |
Making DIY grooming part of your routine shows love for your pet. It protects their health and happiness. Follow DIY pet care advice: be proactive, stay informed, and keep your pet walking happily.
The Right Tools for the Job: Selecting Nail Trimmers
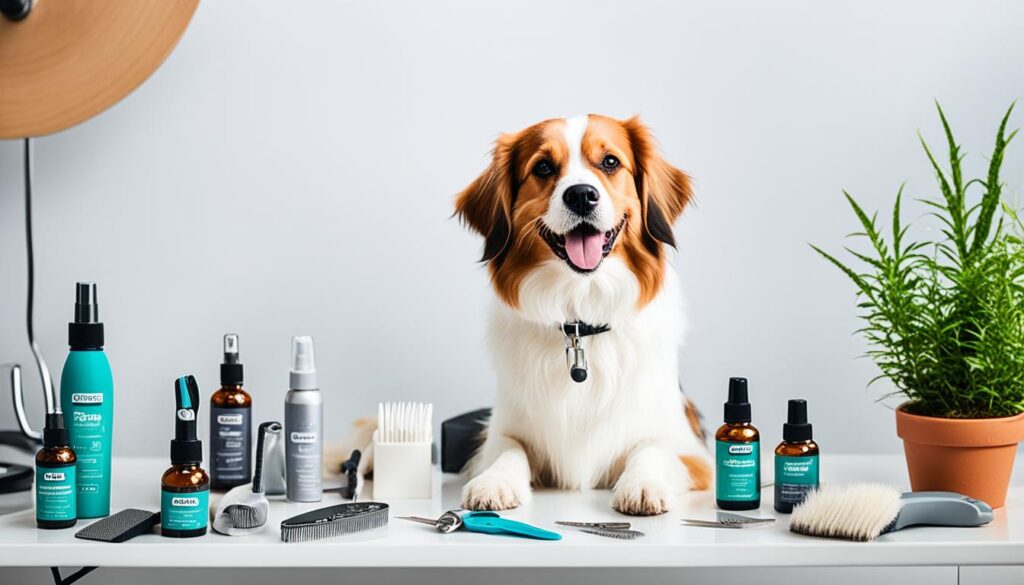
Ensuring the health and comfort of your pet starts with regular nail maintenance. To embark on DIY pet care, particularly home pet grooming, choosing the suitable nail trimmers for your furry friend can make all the difference. It not only simplifies the process but also turns it into a stress-free experience for both of you.

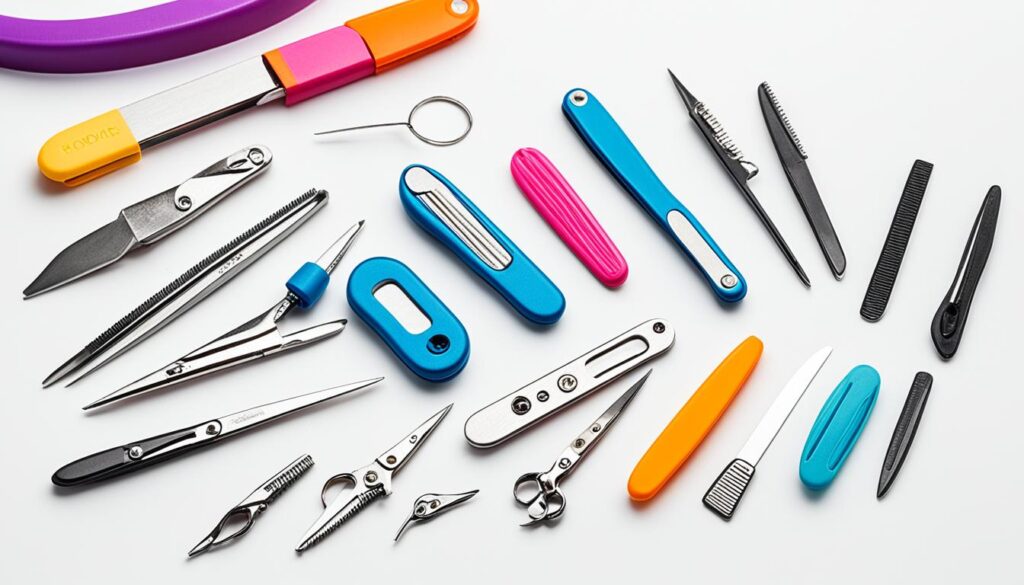
Types of Nail Trimmers and Grinders
From traditional scissors to high-tech grinders, various tools are available. They cater to the specific needs of pet nail trimming. Here’s a quick look at the most common tools to help you in grooming:
- Guillotine Clippers are ideal for their precision and ease of use.
- Scissors Clippers work best for smaller breeds and offer more control over the trimming.
- Pliers Clippers are the go-to for thicker nails, providing greater force.
- Nail Grinders, like the popular Dremel tool, offer a smooth finish and are excellent for rounding the nails after clipping.
Pros and Cons of Different Grooming Equipment
Every grooming tool has its upsides and potential downsides. Guillotine clippers are easy to use but may need new blades often. Scissors clippers are less scary for your pet but might not work for tough nails. Pliers-style clippers are strong but might be too much for little paws. Nail grinders are gentle but might frighten pets with their sound and vibration. Think about your pet’s size, nail thickness, and temperament when choosing the right tool.
Keeping Styptic Powder and Treats on Hand
In case of any accidents during the pet nail trimming process, it’s vital to have styptic powder ready. This will quickly stop any bleeding if you cut the quick by mistake. Cornstarch or flour can also work well in such situations. Plus, having treats nearby can create a positive vibe, making your DIY pet care efforts more rewarding.
With the perfect set of tools and a little patience, you can ensure that your pet’s paws remain well-groomed and healthy, right from the comfort of your home.
DIY Grooming: Tips for Trimming Your Pet’s Nails at Home
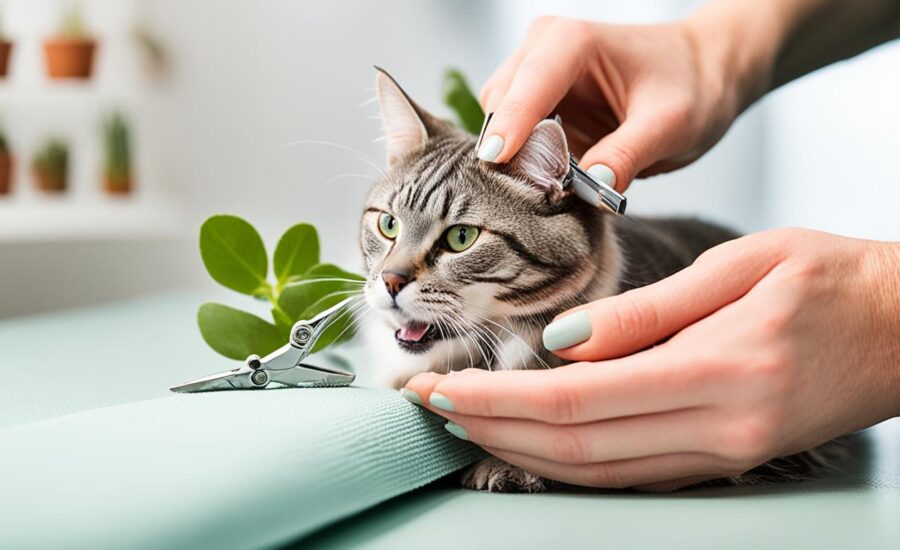
Starting DIY Pet Care might seem hard, but with the proper Nail Trimming Guide, it’s great for you both. Remember, each cut is crucial in Pet Nail Care. Make sure to clip at a 45-degree angle to prevent any damage. Giving treats often makes it fun and helps you bond during grooming.

Finding the right tool is key in Grooming at Home. Big dogs need strong clippers, while small pets need smaller ones. If you’re using a grinder, get used to it first. This helps avoid scaring your pet. Getting used to grooming takes time and patience.
For home grooming, keeping your pet calm is as important as your grooming tools. Being gentle and using treats right can make grooming easier in the future.
Being regular with nail care is important. It makes grooming a calm, fun time for your pet. It helps your pet look forward to grooming. Start simple and slowly add to your grooming skills. This is all part of a good Nail Trimming Guide that keeps your pet safe and happy.
Preparing Your Pet for Nail Trimming
Getting your pet ready for nail care is key in DIY Grooming. Before starting with Pet Nail Trimming, make sure to set up a calm space. It’s also about building trust and a familiar routine with your grooming tools.
Incorporate Home Grooming Tips into your routine for a smoother nail trimming process for you and your pet.
Getting Your Dog Comfortable with Grooming Tools
Introducing your dog to the grooming tools is the first crucial step. Allow your pet to explore the nail clippers or grinder. This can help them feel at ease. Connect these first encounters with their favorite treats. This builds a good association.
Desensitizing Your Pet: Handling and Touching Paws
Getting your pet used to having their paws touched is important for Pet Nail Trimming. Start by lightly touching their paws when they’re calm. Slowly increase the amount of time you touch their paws. This prepares them for the trimming process and helps spot early issues.
Using Positive Reinforcement and Treats
Positive reinforcement is a big part of Home Grooming Tips. Reward your pet with treats and praise during nail trimming. This encourages them to behave well. Using this method consistently changes stressful moments into bonding times.
| Step | Action | Positive Reinforcement |
|---|---|---|
| 1 | Introduce grooming tool | Give treat and praise when pet shows curiosity |
| 2 | Handle paws gently | Offer treat when pet remains calm |
| 3 | Simulate nail trimming | Use favorite treat following a mock-trim session |
| 4 | Trim a single nail | Immediately reward with a high-value treat |
| 5 | Repeat and increase nails trimmed | Continue consistent praise and treats |
With continued positive grooming sessions, your pet will start to enjoy nail trimming. Be patient and consistent. This turns a tough job into a rewarding part of home care.
Step-by-Step Guide to Safely Trimming Nails
Starting with DIY Pet Care means learning what your pet needs. Grooming at Home isn’t too hard if you know the right steps. This Nail Trimming Guide will help you trim nails safely, making the experience good for you and your pet.
First, gather all the tools you’ll need. It’s important to make everything calm for your pet, so they don’t get scared. Showing your pet the grooming tools gently can help them get used to what’s coming. These steps will guide you through nail care:
- Put together your grooming kit. This includes trimmers or a nail grinder and treats for your pet.
- Let your pet check out the tools. This helps them feel less scared of what’s happening.
- Start with one nail. Hold your pet’s paw gently to work on the nail you’ve chosen.
- Look for the safe spot to cut. This avoids hurting your pet during trimming.
- Trim or grind a bit of the nail at a time. Keep your hand steady for a clean cut.
- Give your pet a treat and some kind words. This makes them associate nail trimming with good things.
A visual guide can also help. Check out this table for a clear view of each step:
| Step | Action | Tips |
|---|---|---|
| 1 | Gather Supplies | Make sure your trimmers are sharp and treats are ready. |
| 2 | Acclimate Your Pet | Let your pet smell and look at the grooming tools. |
| 3 | Isolate and Secure | Hold the paw gently and start with the less sensitive nails. |
| 4 | Identify the Quick | Look for the pinkish area in clear nails; trim dark nails little by little. |
| 5 | Trimming Process | Use the tool to cut thin slices until the nail is the right length. |
| 6 | Reward and Praise | Give a treat right after trimming each nail as a reward. |
Be patient and gentle during the Grooming at Home process. Every step in this Nail Trimming Guide is vital for safe and comfortable trimming in your DIY Pet Care and Home Pet Grooming routines.
Following these steps carefully will help you master pet nail care. It’s a great way to improve your pet’s health and your bond with them.
Troubleshooting Common Issues: Avoiding and Dealing With the Quick
Starting with DIY Grooming and Pet Nail Care can sometimes be tricky. You might hit the quick, a sensitive part in your pet’s nails. This is a usual problem when Trimming Pet Nails. Knowing what to do is key for Nail Maintenance. It helps avoid pain for your pet.
What Is the Quick and Why It Matters
The quick is a vital part of a pet’s nail with nerves and blood vessels. Cutting it by mistake can hurt your pet. To avoid this, it’s important to know how to avoid the quick. This keeps your pet happy and healthy during nail trims.
How to Identify the Quick in Different Nail Colors
Finding the quick in pets with light nails is easy. It looks pink inside the nail. In pets with dark nails, it’s harder to see the quick. The trick is to cut tiny bits at a time. Look for a dark center in the nail, which means you’re close to the quick.
First Aid for Accidental Cuts
Mistakes can happen when Trimming Pet Nails. It’s vital to have a first aid plan. If you cut the quick, quickly use styptic powder on the nail. Press it down firmly, soothe your pet, and give them treats. This helps them feel better fast.
| Nail Color | Visibility of Quick | Trimming Technique | First Aid Supply |
|---|---|---|---|
| Light-Colored | Quick visible as a pink area | Trim small lengths above the quick | Styptic powder or cornstarch |
| Dark-Colored | Quick not clearly visible | Trim small portions and look for a dark spot |
Conclusion
Learning how to take care of your pet, especially trimming their nails, is rewarding and practical. It’s not just about looks; it’s crucial for their health. When you know the importance of nail care, you can start to improve their wellbeing. With the right tools and positive vibes, grooming can be a bonding moment.
Adding grooming tips to your daily life should be consistent. Each time you successfully trim your pet’s nails, it gets easier for both of you. This task becomes a stress-free part of your routine. You help your pet feel better and save money too.
Grooming is more than a task; it’s how you show love to your pet. Getting good at these grooming skills means a happier pet and a stronger bond. So, use those trimmers confidently. Each trim not only keeps your pet healthy but also brings you closer together.
FAQ
What are the health implications of ignoring nail maintenance?
How can I tell if my pet’s nails are too long?
What are the short-term and long-term effects of overgrown nails?
What types of nail trimmers and grinders are available?
What are the pros and cons of different grooming equipment?
Why should I keep styptic powder and treats on hand during grooming?
How do I get my dog comfortable with grooming tools?
What is desensitizing and how can I handle and touch my pet’s paws without issues?
Why is using positive reinforcement and treats advised during nail trimming?
What is the quick and why is it important to avoid cutting it?
How can I identify the quick in different nail colors?
What should I do if I accidentally cut the quick and cause bleeding?
Source Links
- https://be.chewy.com/guide-trimming-dogs-nails/
- https://www.dailypaws.com/dogs-puppies/dog-grooming/how-to-trim-dog-nails
- https://www.akc.org/expert-advice/health/how-to-trim-dogs-nails-safely/

